The rules of reality say the Bumble Bee shouldn't be able to fly...some rules were meant to be broken.

Tuesday, April 9, 2013

Basic Books


I feel sorry for books.


Not all books, just those already-read, can't-sell-at-a-yard-sale, obscure little books that end up at the thrift store collecting dust.  I keep waiting for my brain to kick in with all sorts of wonderful inventions.  Every once in awhile a new idea crops up, but alas, I feel there must be more creativity stuck inside my gray matter that just hasn’t surfaced yet.


Maybe some of my already created treasures will inspire someone else to save a few trees, and a few written words from ending up in the recycle bin.

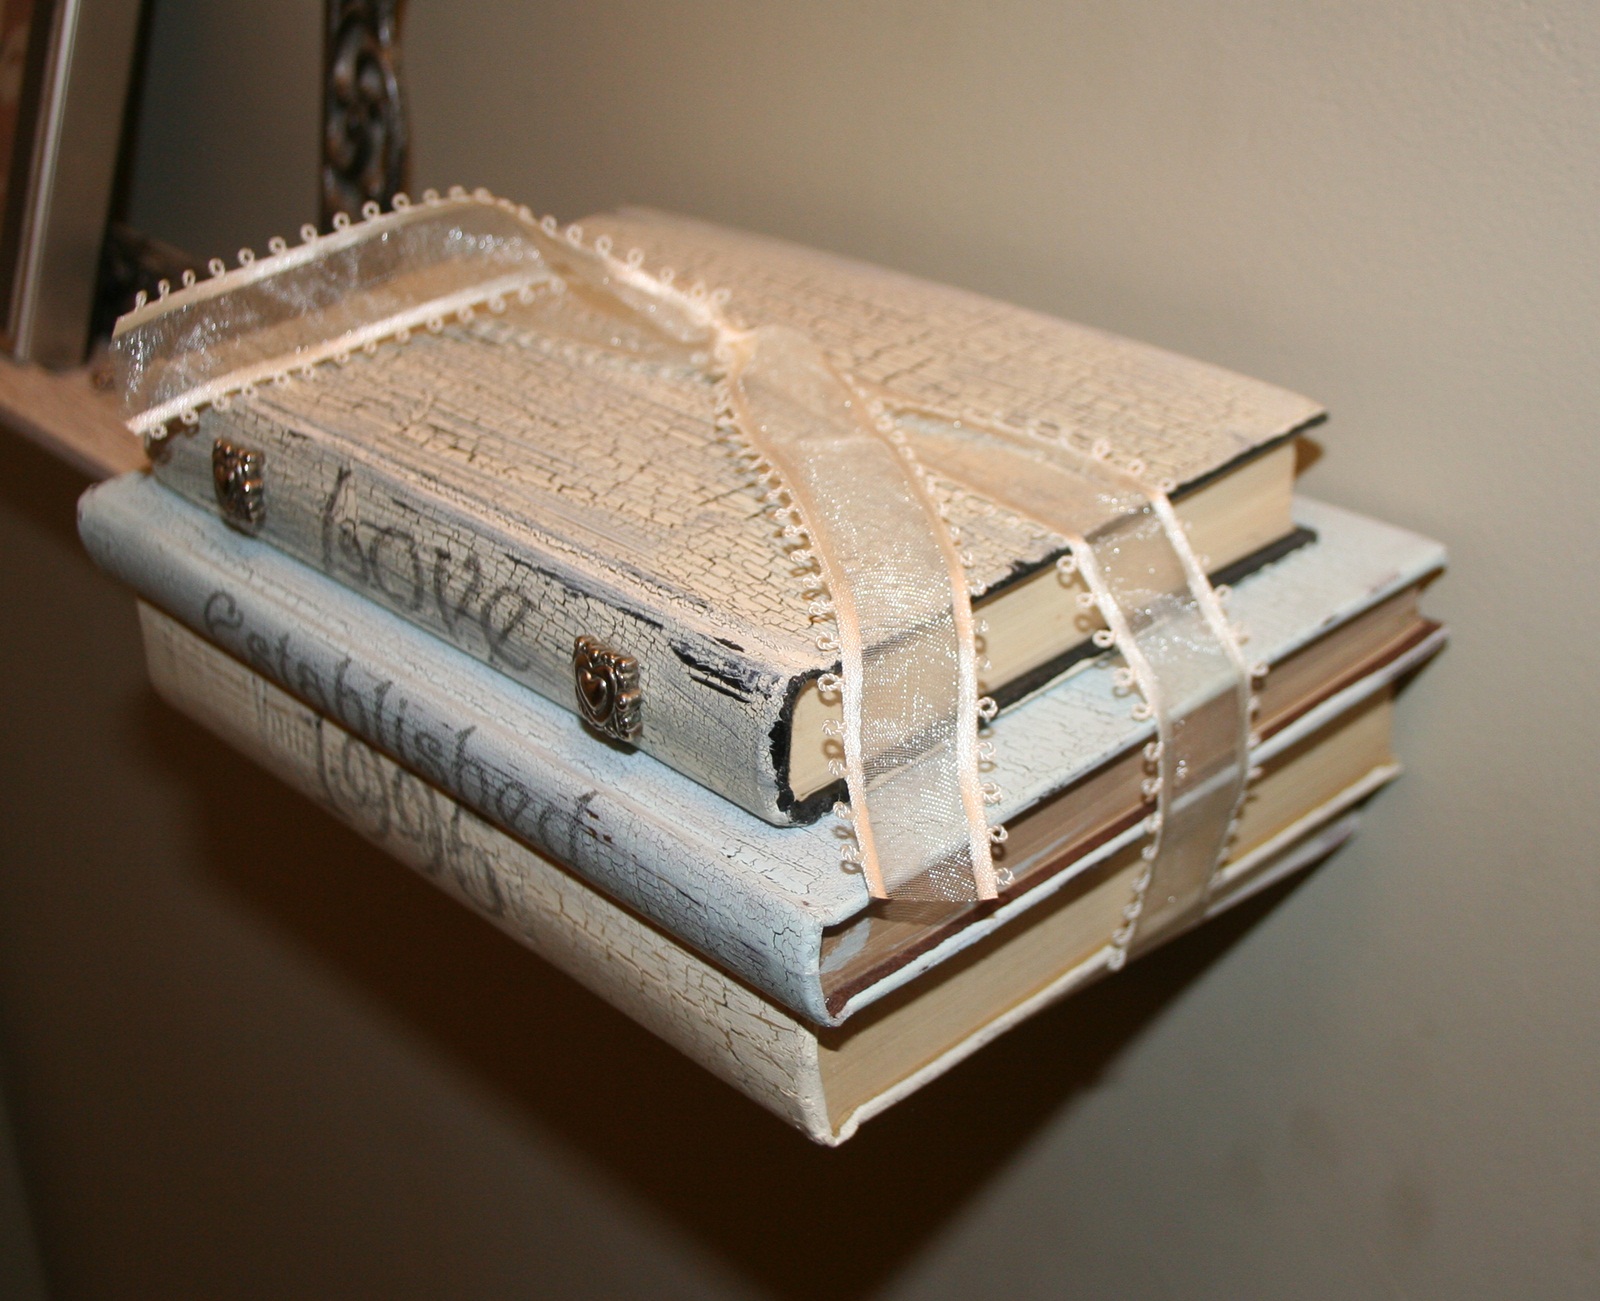
Crackle finish memory book trio

Burlap covered book duo - Spray paint burlap using an old lace curtain as a stencil

You can use your printer to create a fabric accent on muslin.

Another pretty book.  I printed the burlap on my printer then stitched the fabric layers before gluing to the book.  Highlited with a rhinestone and a ribbon.


 If you are in the mood for a little more effort, see what you can create after you pull some books apart.
Hard cover text book repurposed into a journal for my sister.  (PS, we're dutch)


Sunday, November 11, 2012

A Little Girl's Dream

Nothing is useless.  Even if parts are missing...even if a substantial part is missing.  When you are willing to look past what others might see as limitations or defects the possibilities become wonderful.

I am sure that this piece when it was in it's full form was quite pricey, but after all is said and done, when half of it became worthless the other half became almost as much so.  For $12.50 we picked this fancy Armoire top up at the local Goodwill store.  Ponder, ponder, ponder.  It was beautiful, but what could be done with only half of an armoire.

Confession time.  My daughter and son-in-law actual came up with the idea and the 3 of us pulled it off.  A little sanding, a few balled feet, some paint and a miraculous fabric find at another Goodwill and voile'.  We turned this left-over, half baked idea into something beautiful.

What little girl would not want this in her room.  I wish I was 8 again.


Look beyond the defects and let the child in you see the perfection.

Tuesday, June 5, 2012

More Mulberry Branches

My daughter and I just can't stop finding new things to use these Mulberry branches for.  Cliff, Carlos and Becca all trimmed their trees and we've been stealing the branches.  Well, not really.  They're glad to have a way to get rid of them.

First was a privacy fence.  I covered approximately 100 feet of chain link fence with curved branches and planted snail vine and cat's claw to wrap around it and fill it in for privacy.

Next was the fort.  My grandson had me move his lawn chair and table in for him.  More cat's claw has already started to grow over the roof.


The latest creative venture is my granddaughter's bedroom.  We took more branches, screwed and glued them to the walls and each other.  We also painted a few branches on the wall, then we decorated all with leaves made from old toilet paper and paper towel rolls.


Eventually these branches will run out...I hope.  I'm getting tired.

Thursday, May 17, 2012

Progress In The Kitchen

I LIKE IT!

We didn't spend much.  Most of the dough went to the new sink, stove and faucet.  The biggest thing to keep in mind is this is NOT a high-dollar fancy kitchen make-over.  We're in one of those "transitional" neighborhoods.  You know the kind I'm talking about.  4 houses in one direction and you've got older classic homes that are well cared for and 4 houses in the other direction everything seems to be falling down.

No new cabinets.  Even just a project with new fronts and doors would have been of $15K.  You've got to be kidding.

So here is quick summary of some of what we did ourselves.

Cabinets:  The old doors were framed out using re-purposed 2" inch window blinds.  Window blinds have holes for the strings to run through so I used a stencil and spackling paste to create a fleur-de-lis 3d effect to cover the holes.


All of the old chrome hardware was primed and painted black.  Because we liked the existing back splash tile and it had a nice black tile stripe running through it we decided to play on that and went with and inexpensive painted treatment over our old laminate counter tops.  It was cheap, and really isn't very durable.  It seems to scratch easily so we use a soft disinfecting wipe rather than any kind of a scrubby sponge to clean it.  But we do like the look of it.


We were lucky enough to pick up a brand spanking new JennAir cooktop off of Craigslist for just $200.  Our plan is to spray the fridge black with some appliance spray paint.

Maybe someday we'll do a full blown re-model but for now this meets the Cheap & Easy Martha Stewart Alternative guidelines.

Tuesday, May 15, 2012

Spring Time Repurpose - A Truly Green Idea

UPDATED PHOTOS.
 (Scroll down to see the original post and how to)

We recently ripped all this down to install a new 6' vinyl fence.  It sure was beautiful and the fort will be missed.


For a few days last month it was spring here in Arizona.  You may have heard it said that we have only 3 seasons here.  Summer lasts about 8 months, Fall about 3 1/2 and Spring about a week.

So during that week a few of my neighbors trimmed their overgrown Mulberry trees.  Not the neighbor that should cut their poor excuses for trees down, mind you.  Just the ones that have managed to keep their alive and beautiful long past their normal life spans.

Stacks of branches laying in front yards inspired me...twice.

Project #1  - A Privacy fence.


 I tied and wove some of the smaller curved branches through my ugly chain link fence.  The snail vine, cats claw and lantana have already started to weave around this natural fence.  I can't wait to post next years photos with all the growth.

Project #2 - A Fort For the Grandkids.


I add new branches almost every day and the cats claw continues to wrap itself around the frame work.  Next years photo's should show the coolest fort ON THE PLANET!  My grandson particularly likes the new door.  Now he can play inside without the dogs licking him all the time.


Talk about going green.  We'll be having a lot of fun and a lot of privacy.

Monday, January 9, 2012

Cabinet Door-Picture Frame Re-purpose.

This is another one of those pieces I bought because I just knew something good would come of it.  Had no idea what, and it went through several different purpose ideas before it finally found it's life. 

I picked it up at the used building materials warehouse I visit occasionally.  It was the glass that grabbed me.  This old cabinet door had a cherry stain and beautiful bubble glass.  I quick coat of white paint, a crackling medium and finally a super dark brown (yes, almost black) and here it is.  I filled it with black and white prints and create a family collage.


Wonderful Bubble Glass

I will be able to change the collage as the family grows and it's a unique visual touch.  Remember, think outside the box, or the cabinet.

Tuesday, November 15, 2011

Handmade Dining Table

So the banquette is not done yet, but we needed a dining table for it.  Shopping on Craigslist is always a good thing, but finding the right size dining table just wasn't in the cards.  So I decided to make one.

The search was on for the right base.  Enter a Craigslist find for that...an antique Singer sewing machine base for $50.


So what to make the table out of.  I knew I needed something about 30 inches wide and 5 feet long and strong enough to withstand someone leaning on it without curving or bending over time.  Off to Stardust to find a solid core door.  I cut the door down to 60".  (lesson 1: I recommend 59 to 59.5" to accommodate the trim molding)


I centered the sewing machine base upside down on the door and marked and drilled holes to match those on the base.  In addition I drilled a 3/4" "sink" hole about 3/8' deep so that the mounting bolts would be flush with the door, then bolted the door to the base.


Next step...adding the re-purposed siding I picked up from a friend.  They were tearing down an old shed on their property and offered with wonderful chippy wood to anyone who wanted to pick it up.

 Because it was siding it was thicker on one side.  In glued and nailed small molding strips to the door so I could mount the thinner end of the siding and have level slats.


I glued and used black drywall screws to mount the siding to the door.  The screws served double duty because they also filled the holes for the old nails.  I centered the boards on the door to used the best part of the chippy wood.  When dry, I trimmed them down with a hand saw to the size of the door.


The last building step was to trim the door with casement molding that I painted white then distressed with the crackle medium and brown/black paint.


Here is why I recommend making the table slightly less than 60".  The glass topper was a little more expenses because the glass company had to order a larger size piece of glass to create at 60 3/4" x 32 3/4" piece.  Using a 60" piece would have been less expenses.  The glass made a huge different and I don't have to worry about any of the old paint chipping off during use.


A unique piece.  Since completing this project I have purchased an additional sewing machine base for another re-purposing adventure.  Have any suggestions??


Related Posts Plugin for WordPress, Blogger...